आराम से पढ़ें
Desert Landscape Painting Tutorial – Night Desert Scene
This beginner-friendly acrylic guide will walk you through creating a desert landscape painting. The scene features distant mountains, saguaro cacti, and a dry desert wash.
Freya Moon
रचनाकार
ओवन नोट
नीचे पूरी रचना पढ़ें।
संग्रह
बेकिंग पत्रिका
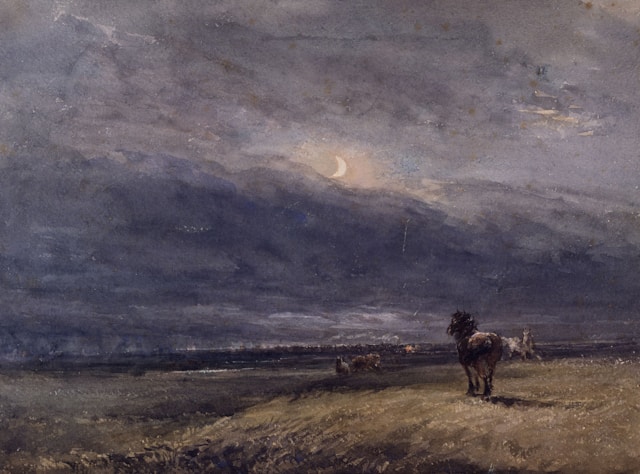
This beginner-friendly acrylic guide will walk you through creating a desert landscape painting. The scene features distant mountains, saguaro cacti, and a dry desert wash.
This tutorial is designed for an 11 x 14 canvas, though any rectangular canvas size works well.
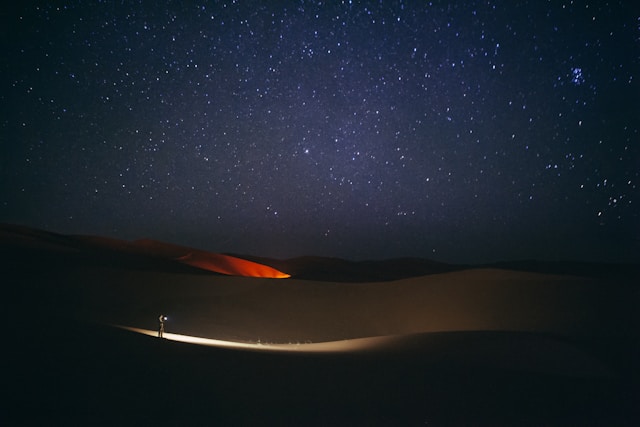
Desert landscapes are especially enjoyable to paint at night, with a full moon casting gentle light over the terrain, highlighting cacti and subtle color variations in the sand.
Enjoy the process and happy painting!
Step-by-Step Instructions
Draw the Horizon
Place your canvas vertically. Lightly sketch a horizontal line across it with a pencil to mark the horizon. You can use a T-Square for precision or place painter’s tape along the line for guidance.
Paint the Sky
Prepare your palette with phthalo blue and titanium white. Using a 1″ flat wash brush, dampen it slightly, remove excess water, and load it with phthalo blue.
Begin at the top of the canvas and use horizontal strokes to cover the upper half of the sky.
Without rinsing your brush, add white to the blue and blend downward toward the horizon, creating a gradient from deep blue at the top to a lighter blue near the horizon.
Paint the Ground
The ground is painted similarly, using browns blended to lighter tones. Load burnt umber on your brush and paint horizontal strokes from the bottom toward halfway up the land.
Gradually mix in white to lighten the brown near the horizon. Variations in tone throughout the landscape, with darker browns in the foreground and lighter shades near the horizon, help add depth.
Add Stars
Use a toothbrush or flat brush to splatter stars. Load the brush with watered-down titanium white. Test the splatter on a scrap surface first.
Flick the paint onto the sky area, avoiding the ground. If needed, cover the land with paper to protect it from stray splatters.
Paint the Mountains
Mountains are created in layers, with distant ranges lighter and closer ranges darker. Prepare three gray shades: light, medium, and dark. Use a #8 round brush.
Mix light gray with 4 parts white, 1 part black, and 1 part brown, adding a bit of water for flow. Loosely paint the farthest mountain range above the horizon.
Next, mix medium gray and paint the middle range below the first layer. For the closest range, use mars black.
Dry brush a bit of black at the base to create subtle shadows at the foothills.
Paint the Dry Wash
Using your #8 round brush, apply a light brown (brown mixed with white) diagonally to create a dried riverbed. Start wide in the foreground and taper it toward the horizon.
Use dry brushing for loose, textured strokes, leaving portions of the ground showing through. Introduce darker browns for variation.
Paint the Moon
Trace a circle for the moon (about 2.5″ diameter) behind the mountain range using a pencil. Use a #4 round brush to paint the bottom of the moon with a light blue mix (1 part phthalo blue to 2 parts white).
Gradually add more white as you move up the circle, creating texture and brightness. Incorporate small touches of darker blue to suggest craters or surface variation. Outline the edge with titanium white to make it glow.
For a shooting star, add a small dot of white and drag a thin streak outward for the tail using a dry brush.
Paint Clouds
Mix medium gray (similar to the middle mountain range). Use a 1/4″ flat brush with minimal paint to create circular, horizontal cloud shapes.
Highlight the bottom of the clouds by mixing lighter gray (gray plus white) and applying it in soft circular strokes where moonlight would naturally reflect. Add a few clouds partially overlapping the moon for depth.
Paint the Large Saguaro Cactus
Mix hooker’s green with white (2 parts green to 1 part white). Use a #8 or #4 round brush to sketch and fill in a tall saguaro on the bottom left. The top should be narrower than the base.
Add arms with rounded tops and narrow bases. Blend lighter green along the right side of the cactus and its arms for highlights.
Paint Large Prickly Pear Cactus
Mix in cadmium yellow to your green for variation. Paint the main teardrop-shaped cactus pad and attach smaller oval or teardrop pads. Vary shades of green for a natural effect.
Paint Smaller Saguaros in the Background
Use a smaller brush (#4 round) to paint distant cacti. Keep them smaller and omit arms for those far away.
Add Shadows and Rocks
Dry brush shadows beside each cactus using mars black and a lightly loaded #4 round brush.
Paint rocks along the dry riverbed in varying grays, adding highlights with white to the right side.
For an agave plant, use different green tints and paint pointed leaves fanning outward.
Add Details to Cacti
Use titanium white to add small dots on prickly pear pads.
Mix quinacridone magenta for cactus fruits, highlighting one side with pink (magenta plus white).
For saguaro blossoms, mix cadmium yellow with white and use a #4 round brush to paint small flower shapes atop the cactus arms.
Finally, add tiny black dots to the prickly pear fruits for realistic detail.
इसके बाद यह पढ़ें
Great Plants for Northern Gardens: Balloon Flower
Nathan Brooks
सिडनी हार्बर ब्रिज
वाणी
प्लाज़ा डे एस्पाना
आदित्य
Fun Facts About Tulips
Cora Mitchell

Sports Car Buying Guide: Everything You Need To Know
Aurora Blake

Lemon tea: why is it so good and how to make it at home?
Julian Ashford